How To Transform A Wine Jug Into Shabby Chic Beautiful
I love taking something that once was and transforming it into something new. Upcycling old items around the house and transforming them into useful and beautiful objects is what it’s all about. That’s why when I saw this wine jug lying around my home, I knew I could create something fun and shabby chic beautiful with it.

My love for working with jute is not new. I’ve already created a series of jute crafting projects and had so much fun working with them. I knew jute would be the perfect element to use for this project too! Of course, to match this beautiful wine jug, you will want to have the perfect set of wine glasses too!

I started with this standard wine jug – you can get them anywhere. My hubby loves wine, and I often recycle them, but this time, I decided to upcycle it instead!
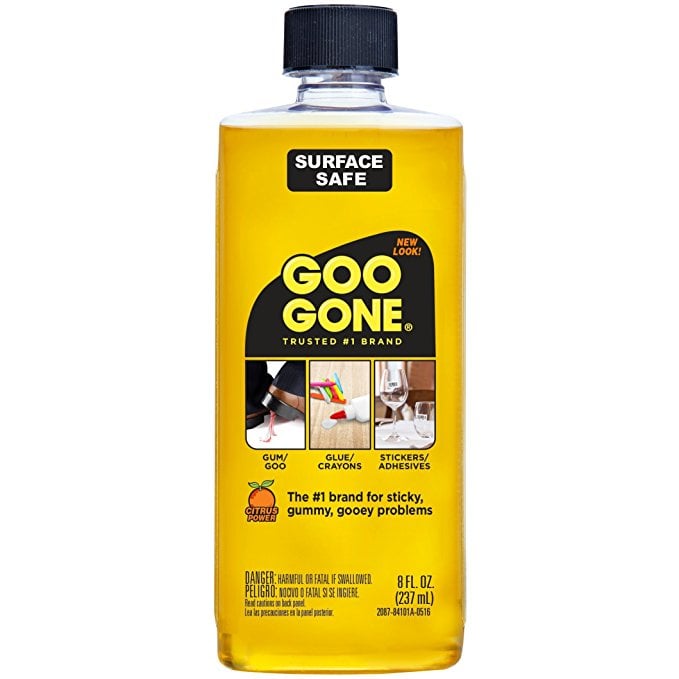
Start by cleaning the wine jug and removing any labels. I used Goo Gone to remove mine – it works perfectly every time!
Be sure not to discard the cap! Once it’s painted gold, it looks beautiful!

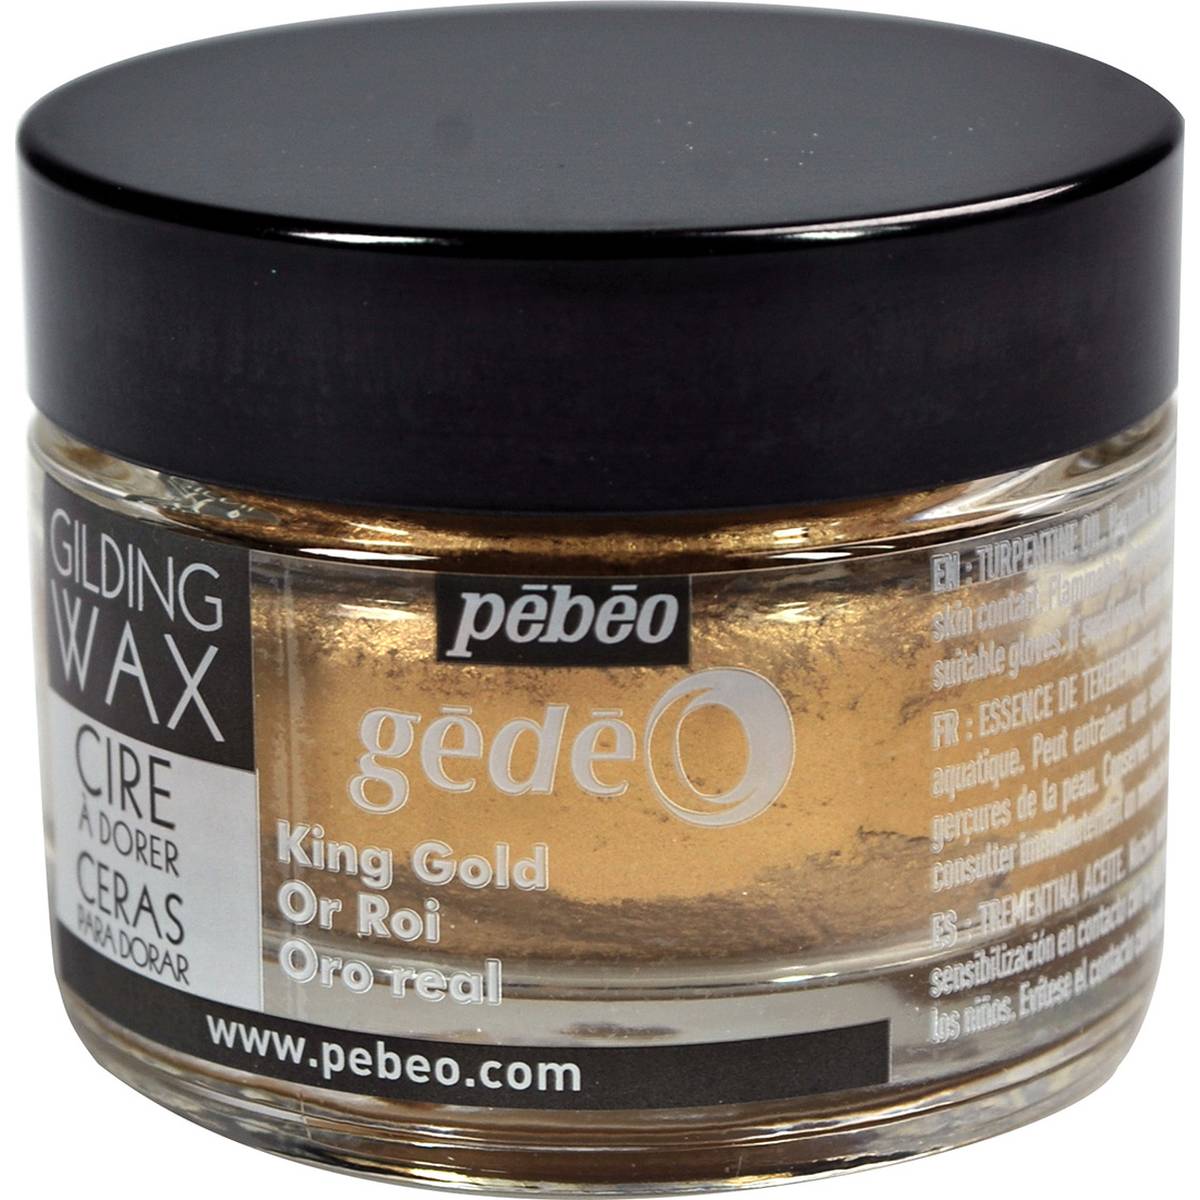
Next – I wanted to paint where the label was and decided on gold. I used Pebeo Gedeo Gilding Wax for the label area – I love this paint, and the gold color is stunning. Next, I used two coats, and they worked perfectly. Then, I dabbed the paint on to get that bumpy look that I wanted. I also use this gilding wax for the top, neck, and lid of the wine jar.
This gilding wax is perfect for so many projects! I also used it to decorate the trim on my end table. I love this table transformation, and this paint really pulled it all together.

You can use regular gold paint, too – and create any design you want!

After the paint dried – it only took about an hour – I added a jute trim around the label area. All of the gluing was done with my favorite glue gun. That made it super easy, and the project only took about two hours from start to finish.

Next, I started wrapping the jute around the bottle – I started with the bottom and worked up. I stopped midway up as I wanted the wine to be exposed for added contrast and color.


As a final touch, I added a beaded embellishment to the label area. If you can’t make one yourself, I’m sure there are plenty of cute old pieces of jewelry you can find to add.

I am so thrilled with the results. Think of how shabby chic cute this will look on your dinner table when serving wine to your family and friends.


Be sure to check out my other jute crafting projects too. I know you will find something fun and creative you will love to work on.
How To Easily Weave A Beautiful Jute Metal Basket
How To Easily Create Stunning Farmhouse Mason Jars
How To Easily Create A Charming Farmhouse Lighted Jar
Make Your Own Pier 1 Rope Lamp Knock Off
How To Stop Your Medicine Cabinet Items From Falling Out
I am so thrilled with this upcycled wine jug and can’t wait to make another one soon!


We participate in the Amazon Services LLC Associates Program, Skimlinks, and other Affiliate Programs. As an Amazon Associate, I earn from qualifying purchases. Affiliate advertising programs like these allow us to earn fees by linking to affiliated sites at no cost to you. As Amazon Associates, we earn from qualifying purchases. Please check our Disclosure Privacy Policy page. Thank you for supporting our website.


This is so pretty!! Much nicer than a boring plain ol’ bottle. What a fun idea. love the heart and beads accent too. Perfect :)
Thanks, Heather. I had so much fun creating it. I love working with jute. There’s so much you can do with it.
Carolann
My gosh – I am amazed what you did with this plain old wine bottle. The jute on the bottom makes it look like it is sitting inside a basket. And the embellishment makes it look like an expensive custom bottle of wine. Love this shabby chic wine jug you created.
Thanks much, Sue. I had so much fun creating it. Working with jute it the best. There’s so much you can do with it. Have a great weekend.
Carolann xo
You did such a fabulous job, Carolann!! So much prettier than the plain old bottle!
Oh my it looks like it came from a vineyard somewhere in Italy Carolann. You know those ones that you see in the travel mags with the Tuscan Villa in the background and the beautiful vines stretching on forever. It’s really turned out lovely
Thanks, Sam. I had so much fun creating it!
Carolann
Hi Michelle, thank you! I had so much fun creating it. I love working with jute. You can do so much with it. Have a wonderful upcoming weekend.
Carolann xo